How to Steam a Wedding Dress
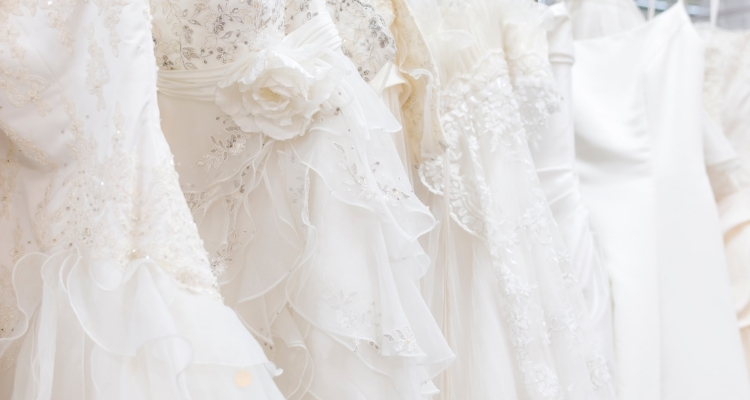
No matter how you store your wedding dress, it is common for a couple of wrinkles to appear before your big day. I’ve written this guide on how to steam a wedding dress to help minimize the stress before your wedding day and the need for professional dry cleaning or steaming.
Before steaming your wedding dress, check the manufacturer’s care labels first to determine what type of fabric your dress is made out of. There are three fabrics that should not be directly steamed. They are:
- Taffeta (a combination of silk and woven fabrics)
- Shantung (a Chinese silk with visible striations)
- Dupioni (a high end Italian silk)
How to Steam Your Wedding Dress at Home
Prepare your area for steaming. Choose an area that is close to a power point, but also easy enough to hang your wedding dress nearby, such as off a curtain rod or in a doorway. Vacuum and dust prior to hanging up your dress out of its packaging. The last thing you want is dust marks on a light-colored dress. If you have pets, now is the time to put them outside or in a different room away from your dress.
Depending on the style of your dress, choose a few coat hangers that will secure your dress well whilst steaming, or grab some clothes pegs. You may need to secure the top layer of your wedding dress, whilst you steam the underskirt.
Prepare your clothing steamer – ensure you have fresh distilled or demineralized water only for your steamer. Fill the water tank and heat up your steamer.
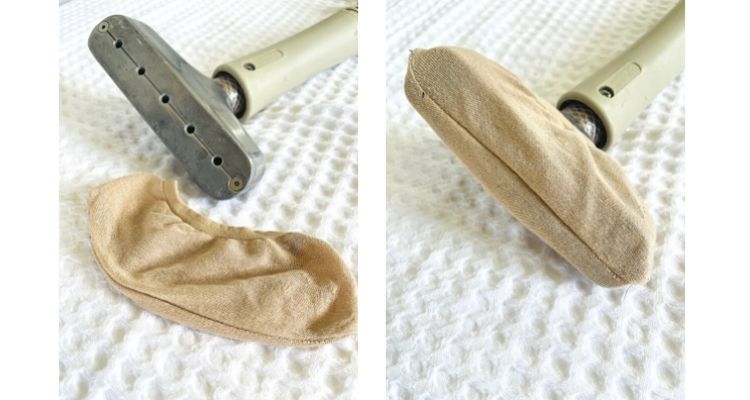
If your fabric steamer has multiple steam settings, choose the lowest steam setting to begin with. Also, if your steamer has a steam bonnet, place this over the sole plate to help diffuse the steam. If it doesn’t try using a thin sock, or the foot of a stocking (see image below).
Once your steamer has heated (45 seconds to 15 minutes depending on your steamer) start steaming your dress from the inside. If you have multiple layers, steam one layer at a time.
For the purpose of this tutorial, I have steamed my own wedding dress. I have been married for over 10 years, so the dress needed to be unboxed and was really creased. Check out the image below of the skirt!
I have used my commercial steamer (Propress, available in the UK and Australia). The equivalent steamer in the USA would be Jiffy Steamers. I’ll talk more about the best steamer to use for wedding dresses at the end of this tutorial.
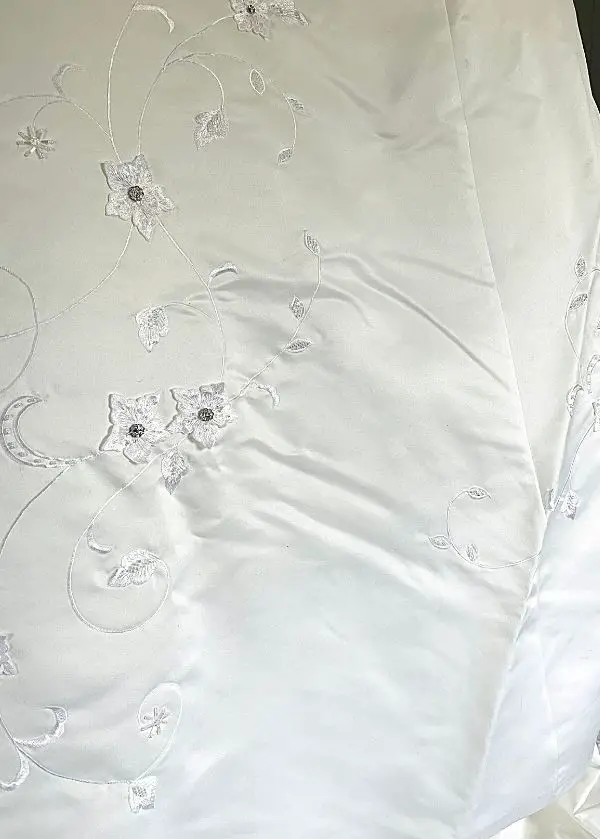
Your wedding dress most likely won’t be as creased as this. There are two layers of tulle and a lining underneath this giant skirt. Also, the manufacturer’s washing instructions explicitly said “not for steaming”, but seeing as though it’s been in a box for over a decade, I thought, what’s the worst that could happen? I went ahead and steamed anyway.
Note – I’m not endorsing this, I made this decision as I don’t plan on wearing this dress ever again. If your wedding dress indicates it should not be steamed and you choose to steam anyway, before getting married, do so at your own risk.
As I mentioned above, you want to start steaming your wedding dress from the inside out. The tulle underneath my wedding dress was extremely crushed, as you can see:
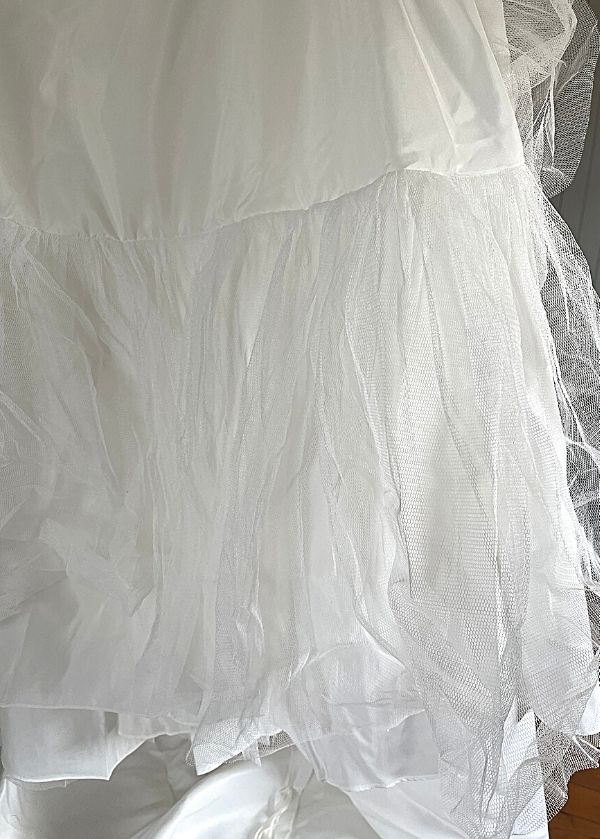
Can You Steam Tulle?
Using one hand, gently pull the tulle straight whilst gliding the steamer over the tulle. You can either do this from underneath the tulle, or over the top of the tulle – whichever you find easier. Examples below:
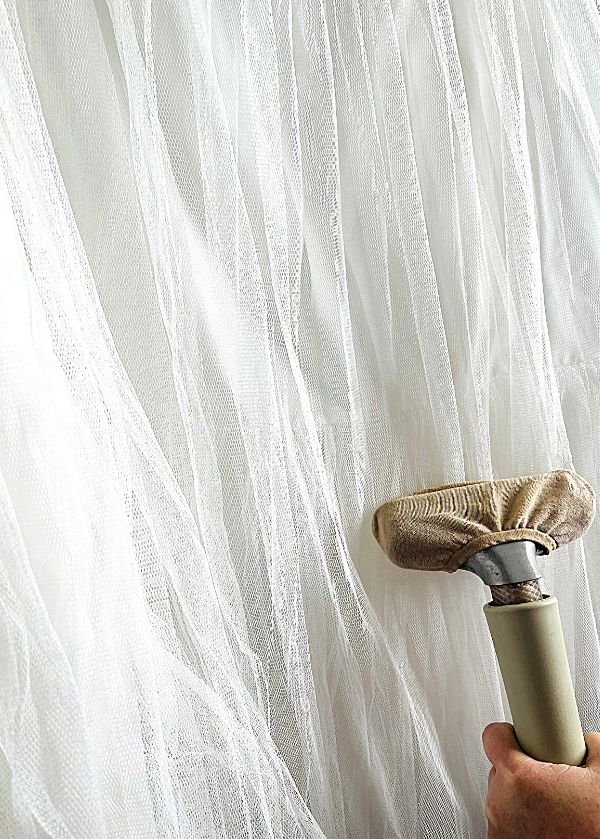
As you can see in the image below I am slightly pulling the tulle so it is taught whilst steaming. This helps to shape the tulle and straighten it. I have a little stocking sock over the head of the steamer to diffuse the steam. This stops the steam from blowing straight through the tulle and also catches any water droplets from the steam.
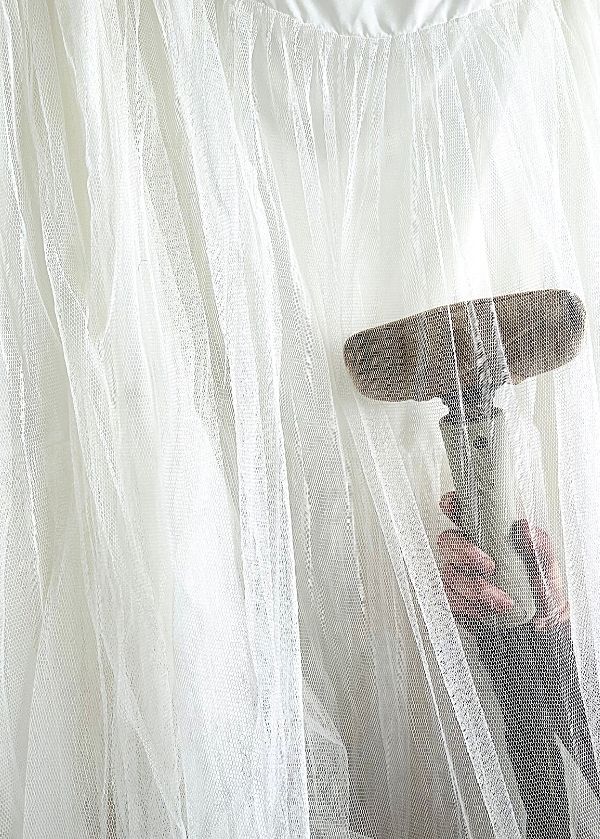
I have several layers of tulle underneath my wedding dress. I steamed each layer separately. This was time-consuming and tedious work that needed some patience, and certainly not as easy as steaming a dress shirt or lightweight clothing.
Once I had finished steaming the underlayers of the wedding dress, I finished with the top layer. The top layer of my dress is a thick sateen-style polyester I believe. It has a sheen to both the underside and topside, as well as embroidery and some beading.
Keeping the bonnet on the steamer head, I steamed the underside of the skirt first. I was hoping this would be enough to remove all the wrinkles, and whilst it did a great job, I found it left lines in the skirt from the head of the steamer and the weight of the skirt. You can slightly see this in the image below:
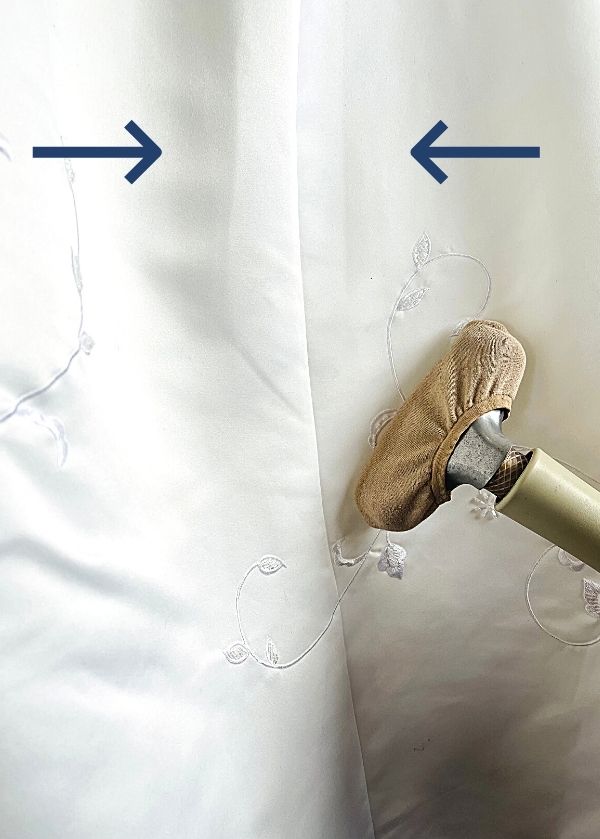
After steaming the underside of the bridal gown skirt I then gently ran the steamer over the outer side as well.
Note: Start by holding the steamer head close to the fabric, but don’t touch the fabric.
It was only after I had tested the steamer on the inside of the fabric, did I try it on the outside. Use the steamer in an inconspicuous area first. Once you are confident that your fabric can withstand the warmth and slight dampness of steam (no water marks etc) can you go closer to the fabric.
Again, my wedding dress is a thick polyester fabric and it steamed fine, both inside and out. I can only speak from my own experience.
Here is the result:
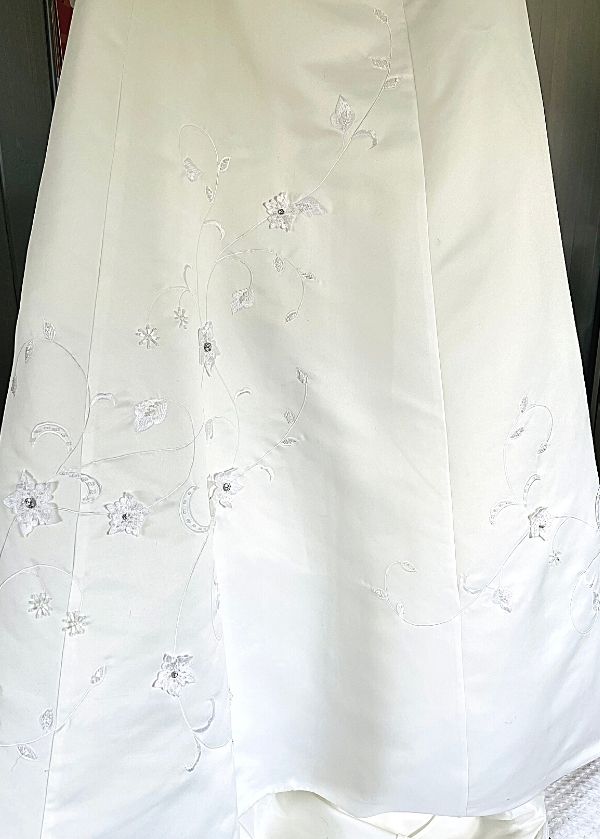
Considering my wedding gown has been stored for over a decade, I was pretty happy with this result. The steam was gentle on my dress and at no stage was I concerned about burning or scorching the fabric.
Steaming is a fantastic option for getting wrinkles out of your wedding gown at home regardless of the fabric. Whether you have a silk, polyester or lace wedding dress, steam is gentle and effective for most fabrics.
I found that because my dress was a thicker fabric, and I had steamed both the underside and top side of the gown, the fabric was damp after steaming. I have left the wedding dress to air dry completely (around 24 hours) before storing it back away.
Don’t forget to steam your veil as well! Use the same process as outlined above, test and measure before going full steam ahead!
Frequently Asked Questions:
Here are a few questions that I’ve been asked about wedding dress steaming. Hopefully, I can answer these for you!
How Long Does it Take to Steam a Wedding Dress?
Allow 1-2 hours to steam an entire wedding dress. I spent 2 hours, mostly due to the thickness of the fabric and the multiple layers of tulle underneath. On top of that, my wedding dress had been in storage for many years and was very wrinkled.
How Long Before the Wedding Should a Dress Be Steamed?
Allow at least 24 hours before your wedding to steam your dress. This gives you time for the dress to adequately dry.
How Much Does it Cost to Steam a Wedding Dress?
Professional wedding dress steaming ranges from $50 to $200 depending on the size and volume of dress (for example, a basic slim gown vs ballgown style). To steam a dress yourself, the only cost is the steamer you choose and distilled or demineralized water.
What is the Best Steamer for a Wedding Dress?
I’ve written a blog post specifically about the best steamers for wedding dresses.
Choosing between a portable handheld steamer, commercial steamer or full-sized steamer will depend on your circumstances and how you might use the steamer after the wedding.
I’ve covered all the options and pros and cons for each type of steamer so you can make an informed choice before you buy.
Can You Steam a Wedding Dress in the Shower?
You can try the bathroom steaming method to generally relax your wedding dress all over.
Place a towel on the floor underneath your wedding dress and hang the dress from a hook or curtain rod. Run a hot shower for 15 to 20 minutes.
Don’t allow any water to come in direct contact with the dress. Ensure the door stays closed and you don’t turn on the fan so the steam builds up in the bathroom.
Turn off the shower and let the dress hang in the bathroom until the steam dissipates. Ensure you hang your wedding dress in a well ventilated area to fully dry.
You can try this method for your wedding veil as well.
- Can You Use a Steam Mop On Karndean Flooring? - June 19, 2024
- How To Clean Unsealed Concrete Floors - June 7, 2024
- How to Clean Stamped Concrete - June 7, 2024


